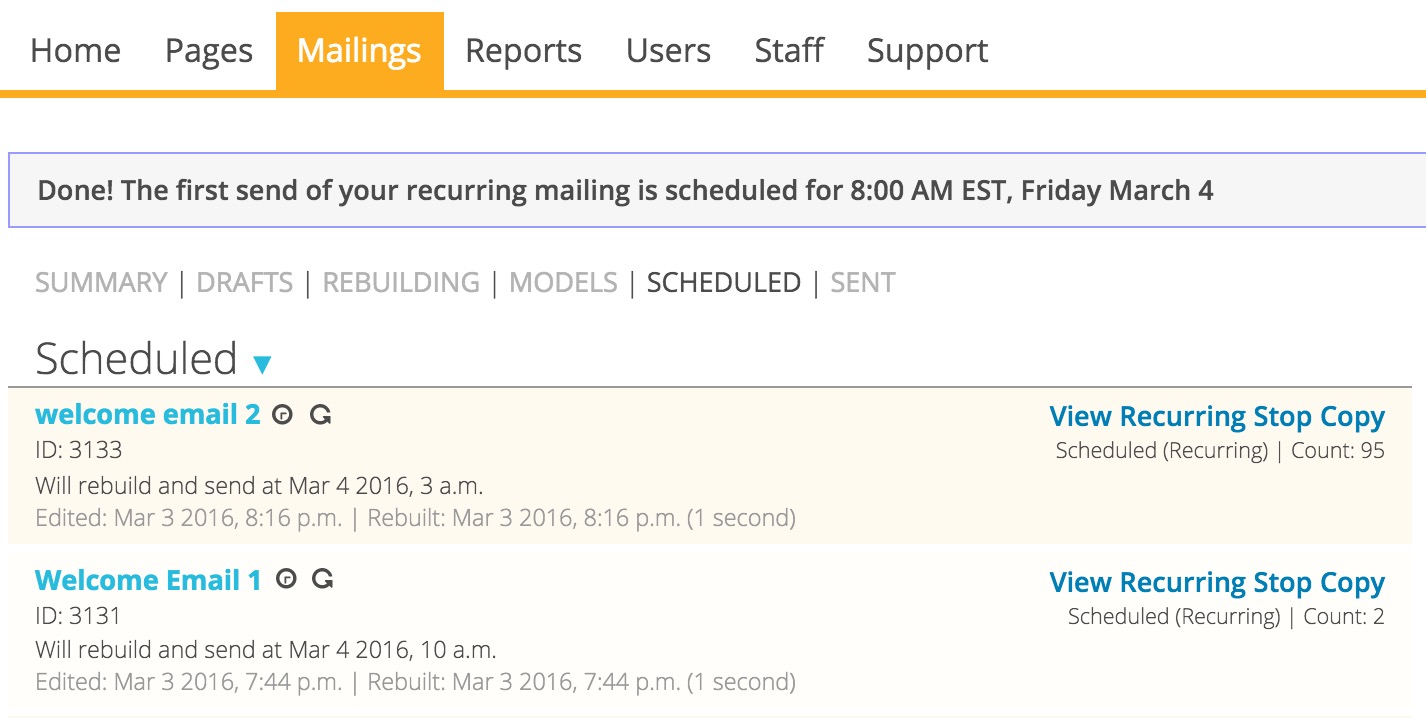
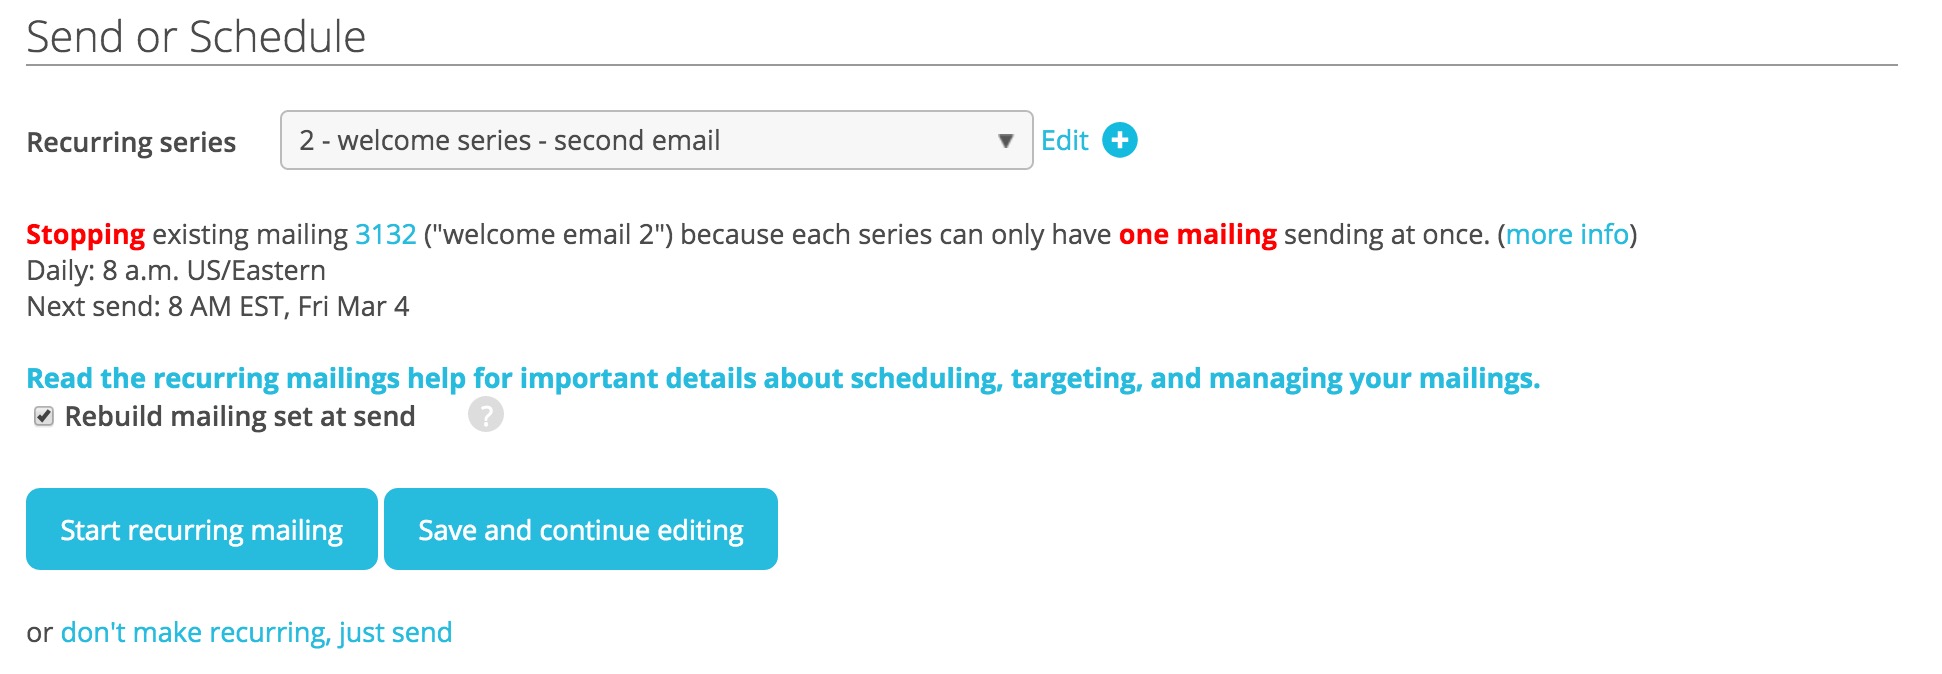
With some customization, you can assign turf to your moderators and events and customize the moderation search experience to exclusively show events that are within a moderator’s turf.
We’ll walk through one way to do that here. Implementation consists of creating a new custom user field and customizing your campaign moderator, event create, and moderator event search pages with custom JavaScript.
1. Decide on turf allocation
The event’s turf will be a custom action field, but the moderator’s turf can be either a custom user field or custom action field. Custom user fields are easier to work with in templates, imports, and queries, but would be awkward if users moderate multiple campaigns. For this tutorial, the moderator’s turf is stored as a custom action field.
You’ll need a consistent method for assigning turf to events and moderators. A simple approach is city and state, like:
city:seattle state:wa
In this tutorial, volunteer moderators will be assigned events in their own city and state to moderate.
2. Customize campaign volunteer template to assign turf to moderators
Customize the event_volunteer.html template to add a custom action field named action_turf as a hidden field:
<input type=”hidden” name=”action_turf”>
Next add JavaScript that applies your turf allocation logic when a user volunteers to be a moderator.
As this tutorial uses city and state, it’s necessary to customize the User Form Fields of the page to require city and state. When a user submits the form, city and state are pulled from the form fields or from user details already in the database.
<script>
function nameTurf(city, state){
return “city:” + city.toLocaleLowerCase() + ” state:” + state.toLocaleLowerCase();
}
function setTurf(){
var city = $(“[name=city]”).val() || ‘{{user.city}}’;
var state = $(“[name=state]”).val() || ‘{{user.state}}’;
var turf = nameTurf(city, state);
$(“[name=action_turf]”).val(turf);
}
function actionkitBeforeSubmit(){ setTurf();}
</script>
3. Customize event create page to assign turf to events
Customize the event_create.html template to add a custom action field for turf as a hidden field:
<input type=”hidden” name=”action_turf”>
Then add JavaScript that applies your turf-naming logic and fills in that turf field as a user creates their event.
<script>
function nameTurf(city, state){
return “city:” + city.toLocaleLowerCase() + ” state:” + state.toLocaleLowerCase();
}
function setTurf(){
var turf = nameTurf($(“[name=event_city”).val(), $(“[name=event_state]“).val());
$(“[name=action_turf”).val(turf);
}
function actionkitBeforeSubmit(){ setTurf(); }
</script>
4. Customize event moderator search to prefill the user’s turf into the search parameters, then run the search
On the moderator event search interface, a number of search options are hidden under Advanced Search. That includes the Text String search which looks for a string in a variety of fields, including custom fields.
Customize the event_search_moderator.html to add JavaScript that pulls in the moderator’s turf and fills that into the Text String before kicking off the search.
This would go directly above the existing JavaScript that submits the search form:
{% if signup.campaignvolunteeraction_set.first.custom_fields.turf %}
$(“#id_search_text”).val(‘{{signup.campaignvolunteeraction_set.first.custom_fields.turf}}’);
{% endif %}
5. Hide advanced search options if moderators shouldn’t change search options
In the off chance that moderators shouldn’t be able to see or edit the advanced search criteria such as the prefilled text string, CSS can be added to the event_search_moderator.html template that hides the advanced search toggler:
<style>
#ak-advanced-toggle {display: none}
</style>
6. Notify moderators when a new event is created in their turf
Notifications to moderators can be customized so that moderators only receive notifications about events in their turf. This is achieved by configuring the “To” address of your notifications so that an email from a relevant moderator is selected.
Here is a customized To that can be used when notifying a single moderator that an event was created in their turf:
{% for signup action.event.campaign.moderator_signups|shuffle %}
{% if signup.campaignvolunteeraction_set.first.custom_fields.turf = action.custom_fields.turf %}
{% remember moderator.email as recipient_email %}
{% endif %}
{% endfor %}
No notification is sent if a matching moderator is not found.
Merge queries [https://docs.actionkit.com/docs/manual/events.html#more-customizations] can be used to email moderators about events in their turf, but that’s not covered here.
The steps are the same if you’re assigning turf on more complicated criteria checked as part of Text String search, which includes description, directions, note to attendee, staff notes, and creator name and email.
Text String search does not check the district of the event. However, the notification in Step 6 could be configured to only match moderators within the same district as the event. This would be achieved by checking if the event’s district was equal to the user’s district instead of checking the custom fields for turf.


