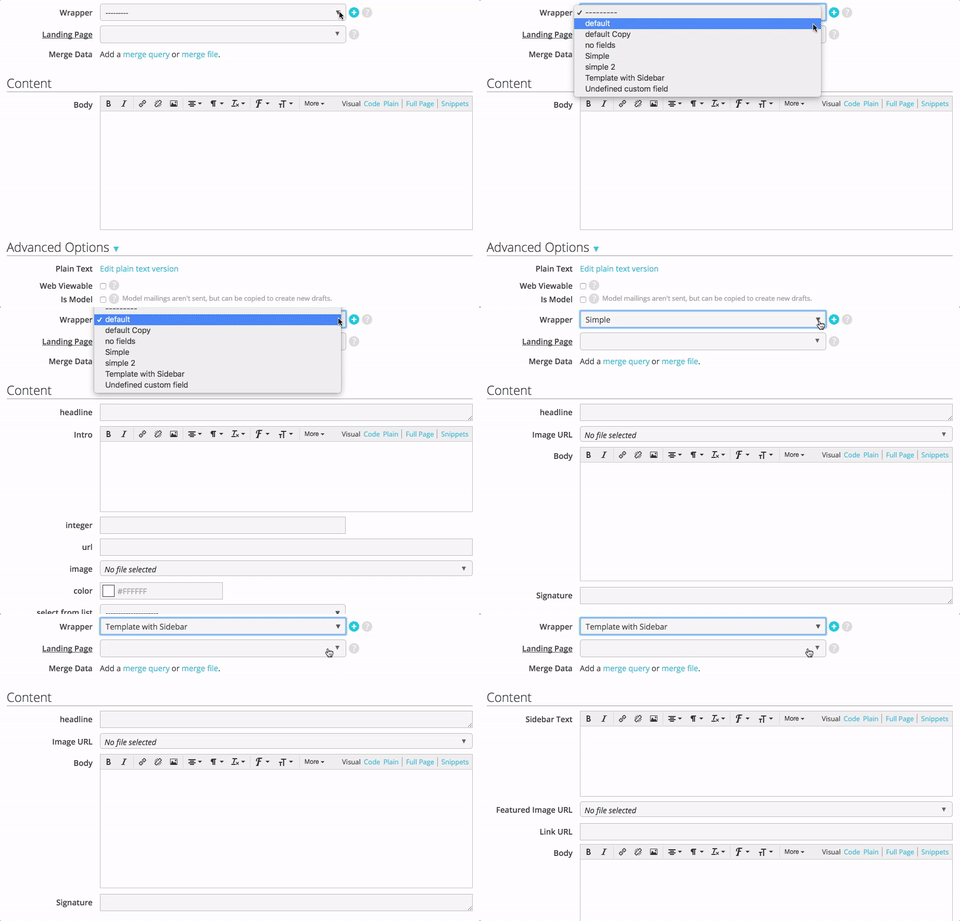
You can create mailing templates by adding custom mailing fields to your mailing wrappers. These fields will display in a new Content section of the Compose screen along with the mailing Body field so that you can have multiple editable elements of the wrapper, while hiding the messy structural code out of sight — and safely out of editing range.
For example, you may have a wrapper like this:
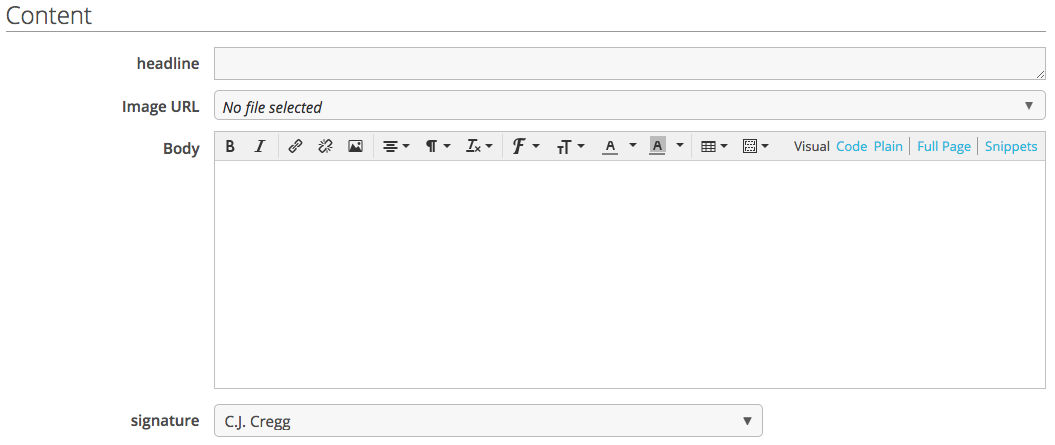
<h1>{% include_tmpl custom_fields.headline %}</h1>
<img src="{{ custom_fields.image_url }}" width=300>
{% block content %}{% endblock content %}
<p>{{ custom_fields.signature }}<br/>
Your Organization</p>
Choose this wrapper for a draft and your Compose screen will look like this:
Switching wrappers will change what fields show up here; their display is governed by what is defined in the selected mailing wrapper.

Templates vs. Models
Mailing models are example mailings that are copied each time into a new, fully-customizable mailing. Everything — metadata, content, styling — copies over. Sometimes that’s super helpful! But sometimes you want to maintain the structure and style of a mailing without the content, or you want to control or simplify customization options. Templates are all about simplicity.
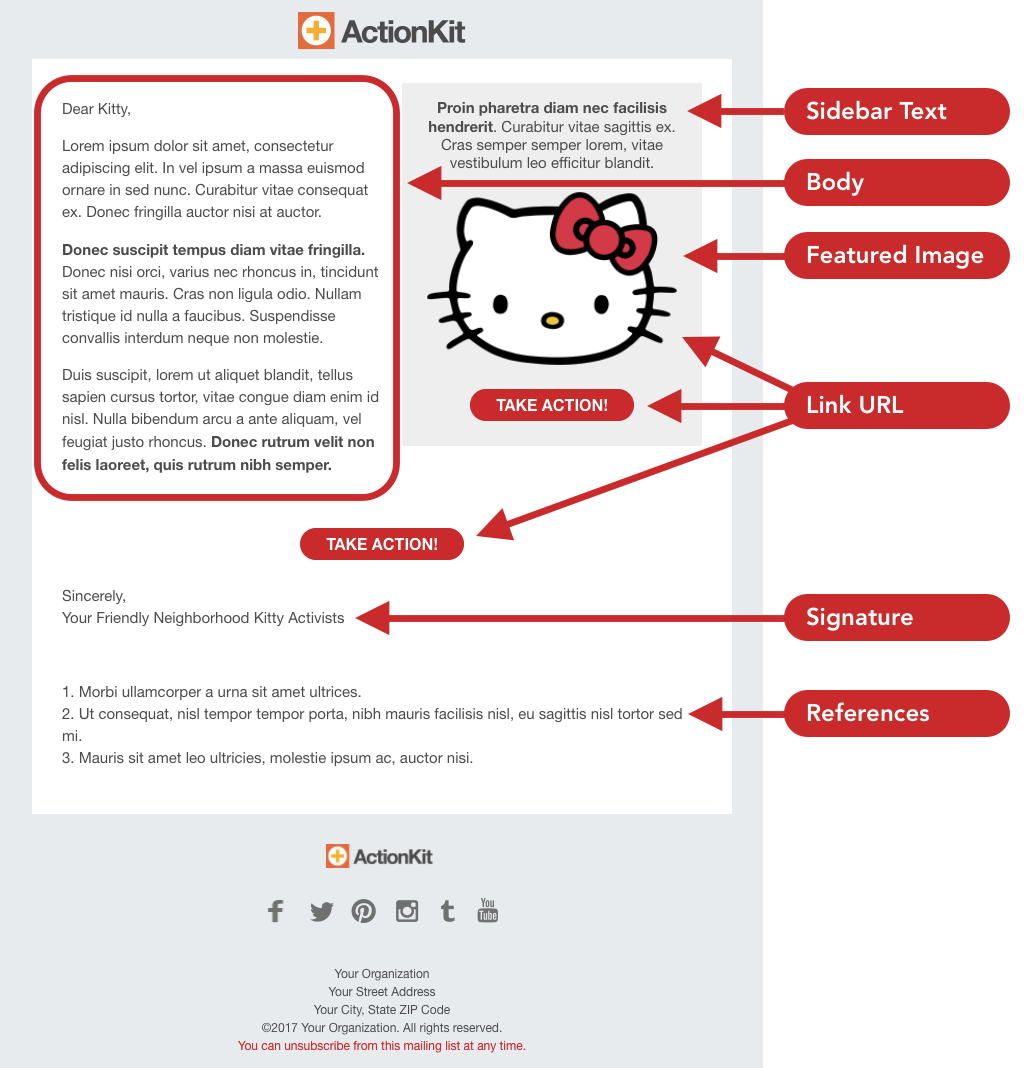
Example Wrapper: Template with Sidebar (Built In)
Your instance already has the custom mailing fields of sidebar_text, featured_image, link_url, signature and references.
The image and buttons will automatically link to the URL entered in the link_url field, and the call-out box will only appear if there are values for either the sidebar_text or the featured_image. The button is drawn via CSS so it’ll be visible whether or not the user has images enabled for their email client. And the image is automatically sized to be a max width of 260px.
Setup
One time: create custom fields
Mailing fields used in the wrapper are standard custom fields, so you can set a type, description, defaults, or make a field required. They should be created prior to including them; including a field unrecognized by the system will display the field in red with a warning that it needs to be created.
If you create an HTML type custom field, we’ll include the WYSIWYG in that section under content. You must use specific syntax when you include fields of this type, or of any type where you plan to use template tags or filters:{% include_tmpl custom_fields.NAME %}. Otherwise, {{ custom_fields.NAME }} is sufficient.
One time: Add custom fields to your mailing wrapper
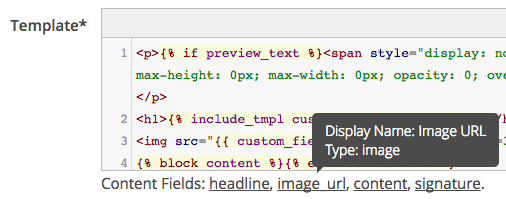
The custom mailing fields section in the snippets menu on the Wrapper screen will insert your fields using the appropriate syntax for the field type. You’ll also see a list of custom mailing fields used in the wrapper under the template box. Hover over them to see the field type, display name and description.
If there’s a value in the mailing field…
You may only want to show an element if the staff member has specified something to go there. For example, a gray sidebar box doesn’t make sense without an image or button to go inside it — it would just be a gray rectangle! A simple if statement can show your element if a field is filled in:
{% if custom_fields.image_url %}
   <div style="align:right;background:gray;padding:10px;max-width:200px">
      <img src="{{ custom_fields.image_url }}" width="100%" />
   </div>
{% endif %}
Now the sidebar will show if there’s an image URL, but it won’t if that URL isn’t filled in.
Working with templated mailings
- Any custom mailing fields not used for the selected mailing wrapper will continue to be available in the Custom Mailing Fields section at the bottom of the Compose screen.
- On the Proof and Send screen, click on the blue Preview link next to the Content header to view a rendered version of your mailing combining all of the fields as previously.
Interested in scheduling a demo with ActionKit? Let us know!


