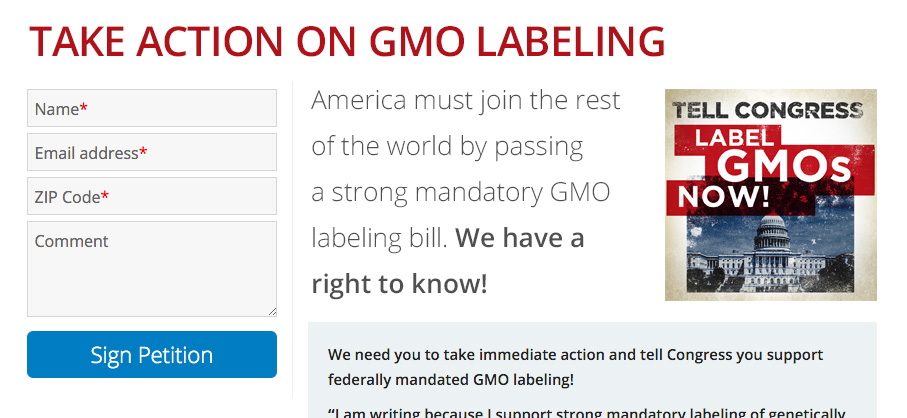
label-gmos.png / graphic courtesy Food Democracy Now!
You can use custom page fields to create a campaign graphic field so that you can include a different graphic on every page created using your template.
First, add the custom field to your page and associate the graphic with that particular page:
- Create a page from the Pages Tab.
- On the “Action Basics” screen, add a custom field to your page. You can call it “campaign graphic” or whatever you like.
- Upload your graphic to the Web. You can do this via your library. Keep track of the URL to the file itself.
- Paste the graphic’s URL into the campaign graphic input field.

- Save your changes.
Now that specific page has a graphic associated with it.
You can use that page as a model to automatically have the campaign graphic custom field input appear.
Next, in the template you’re going to use for this page, add code to display the campaign graphic:
Add this code to your template page:
{% if page.custom_fields.campaign_graphic %}<img src="{{ page.custom_fields.campaign_graphic }}" alt="" />{% endif %}

That’s it! Now every page you create using this template can easily include a campaign graphic. If you leave that custom page field blank, the if statement tells ActionKit to ignore the graphic code when it generates your page.
Bonus: Add a generic graphic with {% else %}

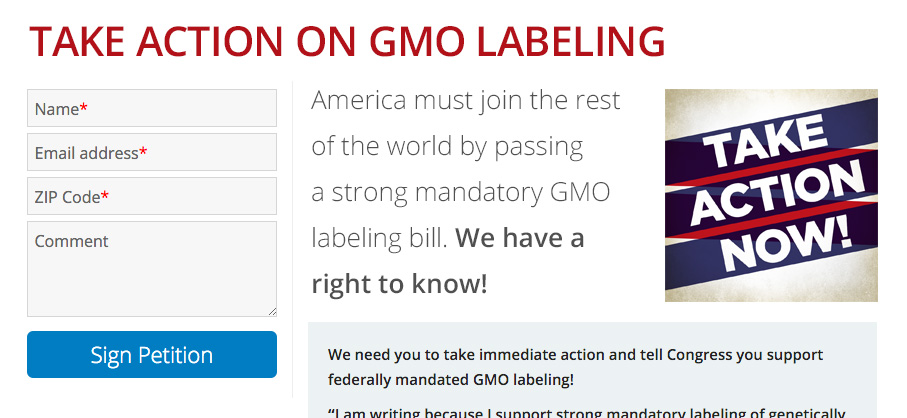
generic.png
You can also add an else statement to put an alternate generic graphic in place when the campaign graphic field is left blank. Just upload your generic graphic to your library and then add this code to your template:
{% if page.custom_fields.campaign_graphic %}
<img src="{{ page.custom_fields.campaign_graphic }}" alt="" />
{% else %}
<img src="https://s3.amazonaws.com/campaign-graphics/images/generic.png" alt="" /<
{% endif %}

