In part one of this series, we saw how to customize the dashboard that appears on the ActionKit homepage by adding helpful resources like links to the documentation. Use the same approach to add your own staff trainings, and any other resources that staff frequently use, like mailing calendars, style guides, or where you get your photos for campaigns.
You can also add standard reports to your homepage so all staff can quickly check progress toward shared goals or use of shared resources. The built-in “Your Progress” report provides some examples. Let’s look at another.
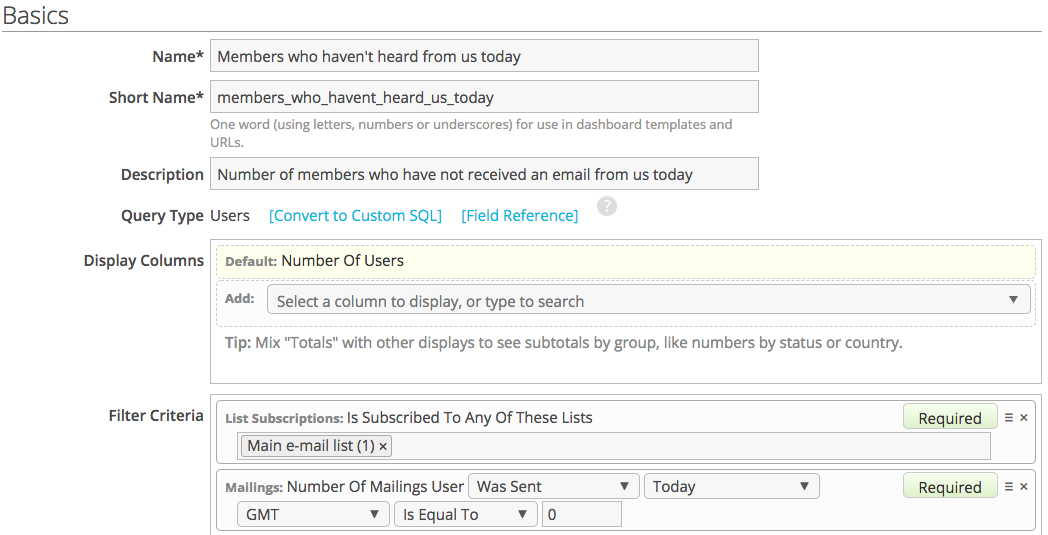
If you have several mailings going in a single day, you may need to do a bit of mental math to add up all of the people on your list who have received an email today and who haven’t yet.
Better yet, you could create a report to do it for you.

For clients using a re-engagement list, you may want to adjust your filter criteria slightly by excluding people on your re-engagement list, like this:

Now that I’ve created my report, I’ll need to add it into my your_progress dashboard.

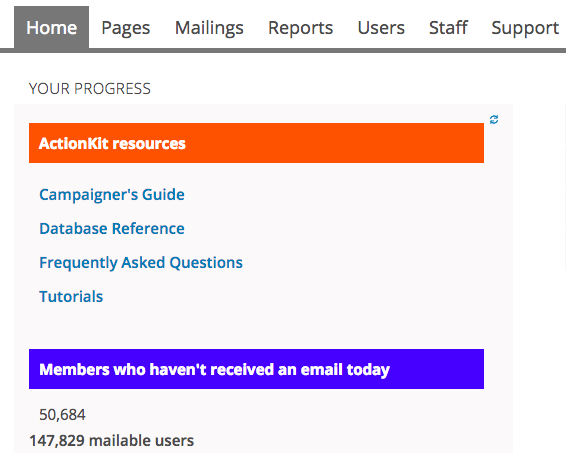
<h3 style="background-color: blue; color: white; padding: 10px;">Members who haven't received an email today</h3>

<p style="margin-left: 10px;">{{ reports.members_who_havent_heard_us_today }}</p>
Finally, let’s return to the homepage to admire our dashboard.

Adding reports to your ActionKit homepage dashboard is easy, just keep in mind that it’s best for at-a-glance information. And since this dashboard won’t load until all of its reports have run, don’t use this section for reports that take a long time to complete.
Interested in scheduling a demo with ActionKit? Let us know!
